CODAS Virtual Computer Navigation
Note
If you are having problems getting the Virtual Computer to import, or have other strange warnings, jump to the section below with some hints.
When booted, the virtual computer automatically logs in
user “adcpproc”
password “codas3”
computer is called “codaspy”
Networking is done by Virtual Box through the host computer, so if your computer is on the network, codaspy should also be on the network (should be able to see Google). By default the virtual computer networking is “NAT”, so other computers on your network cannot see it. If you change this, be sure to change the password too, because that password is public knowledge. You can change the password by typing this command in a bash terminal window:
passwd
It will ask for the current password (codas3), and enter the new one twice.
Don’t forget what you enter!
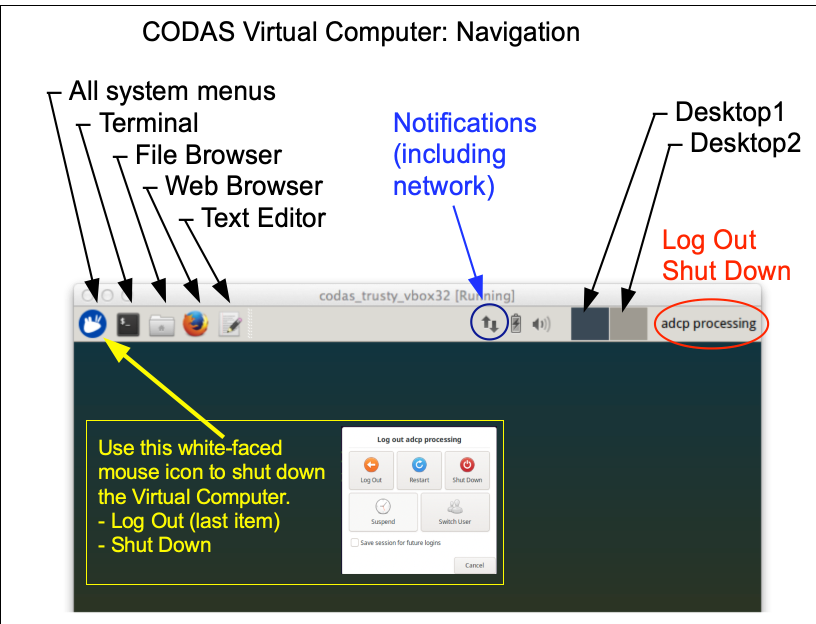
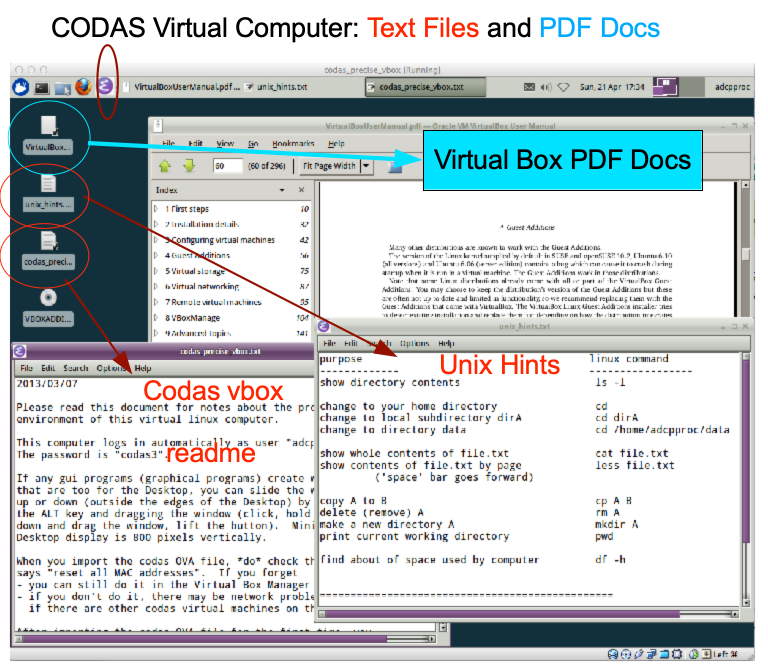
The images below give a quick look at the tools on the codaspy desktop. Click the images for a larger view.
General desktop layout
Your desktop color may different from these screenshots, but the layout should be the same. The new desktop is only shown where there are substantive differences.
Starting a Terminal window
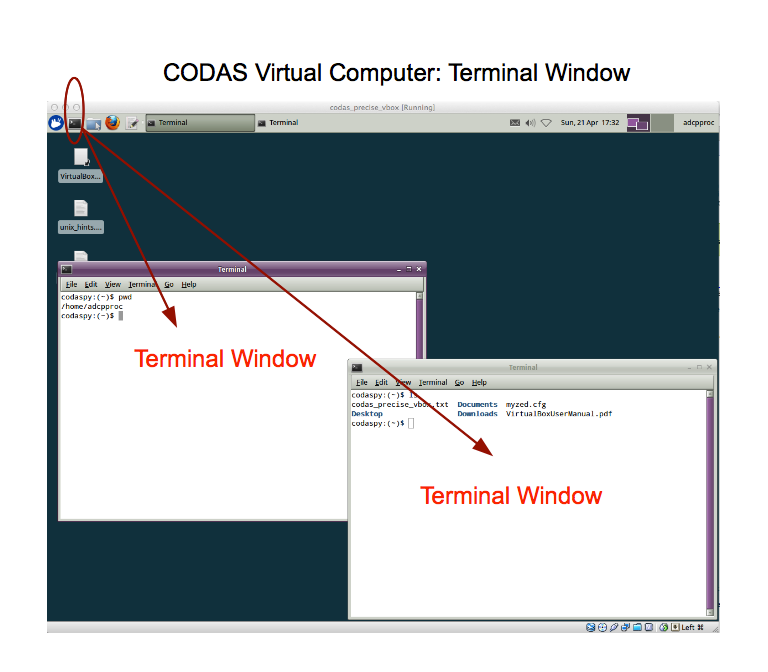
The Virtual computer has been set to share a clipboard with the host computer, so you should be able to copy and paste instructions back and forth.
It is HIGHLY BENEFICIAL to have a 3-button mouse for editing and copy/paste commands in the Linux environment.
Copy/paste within the virtual computer can be done with a 3-button mouse by
double click or click-and-select text with the left button
paste it by clicking the middle button once.
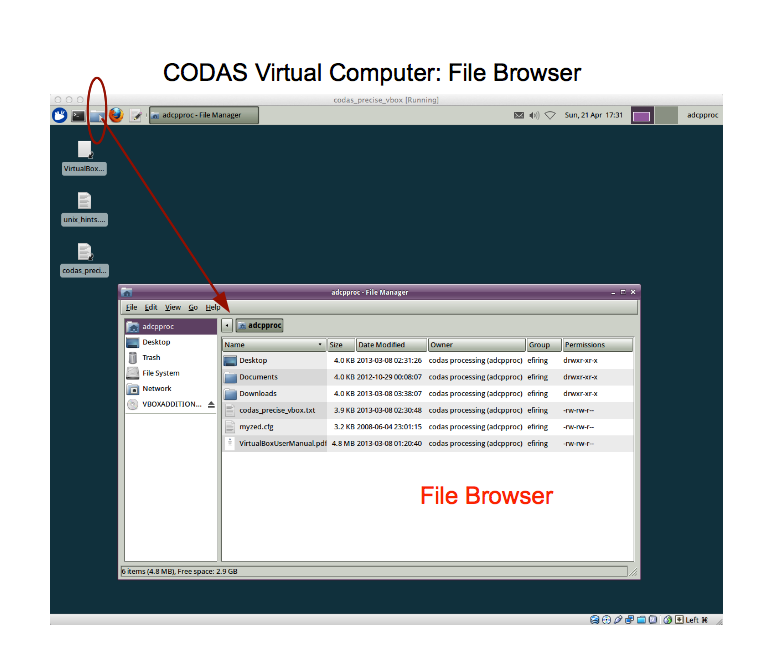
Starting a File Browser
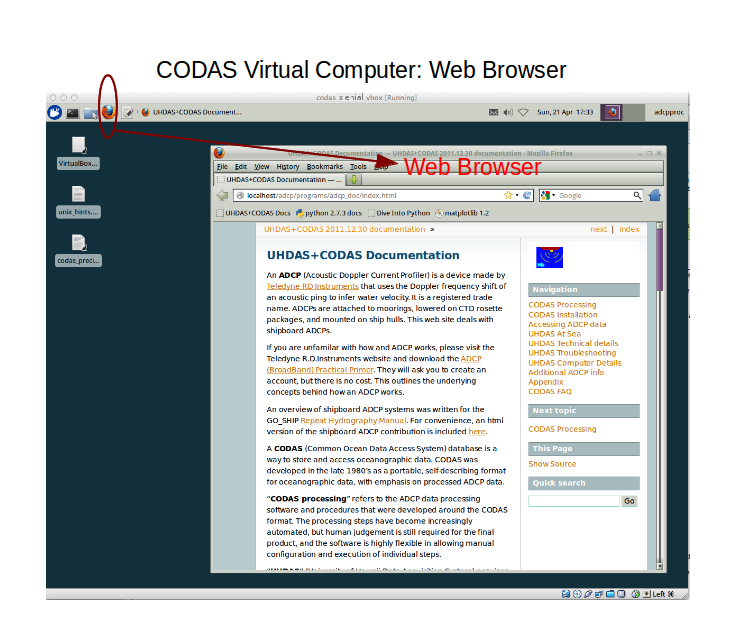
Starting a Web Browser
Starting a Text Editor: example using 2 text files provided
(Return to TOP)